A humidity tray is a great way to keep the air moist for plants with high humidity requirements. Plus, it’s fun, easy, and requires very little effort from you once you have your tray established.
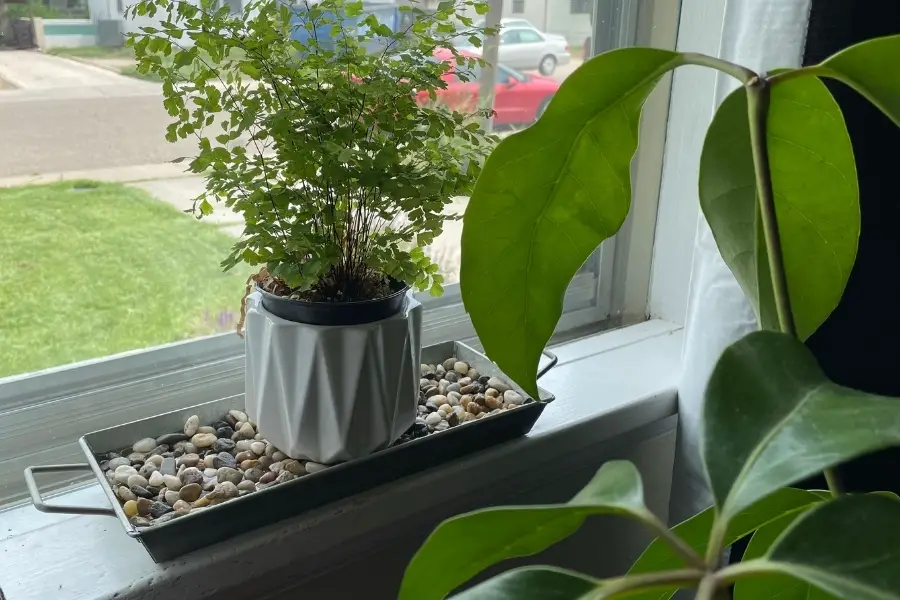
I recently bought a maidenhair fern on Etsy, and I wanted to give it more humidity than my other plants get with a houseplant humidifier and daily misting – just to be safe! So, I thought I’d share the process on how I’m making my tray.
Equipment Needed
To make your own humidity tray, you only need three things:
- Shallow tray big enough for your plant to sit inside
- Pebbles or rocks
- Water
That’s it! This is such an easy, inexpensive way to take care of your plants.

I bought a shallow plant tray from Walmart for $5 to use in this project, but you can use any type of metal or plastic shallow tray you have around the house. As long as it’s big enough for your plant to sit inside, it will work fine. (I personally think metal works better.)
I chose a tray that was long and skinny so it would fit in my front windowsill. Think about where you want to place your tray and if you have enough room for it when choosing a size. I also liked that this one had handles on it, making it easy to move around.
For the pebbles, I also bought a small container for $5 from Walmart in the gardening section. They had several different sizes. You can also find nice pebbles on Amazon. Or if you really want to make this a low-cost DIY project, gather some small rocks outside for free!
In my opinion, smooth river rocks look the best. In addition to being a practical help for your houseplants, humidity trays also make a nice decoration in any room.
Putting it Together
Now, let’s put it together! It took me literally less than a minute to make my tray once I had the supplies (maybe a little longer to take photos). But you definitely don’t need a lot of extra time to do this project.
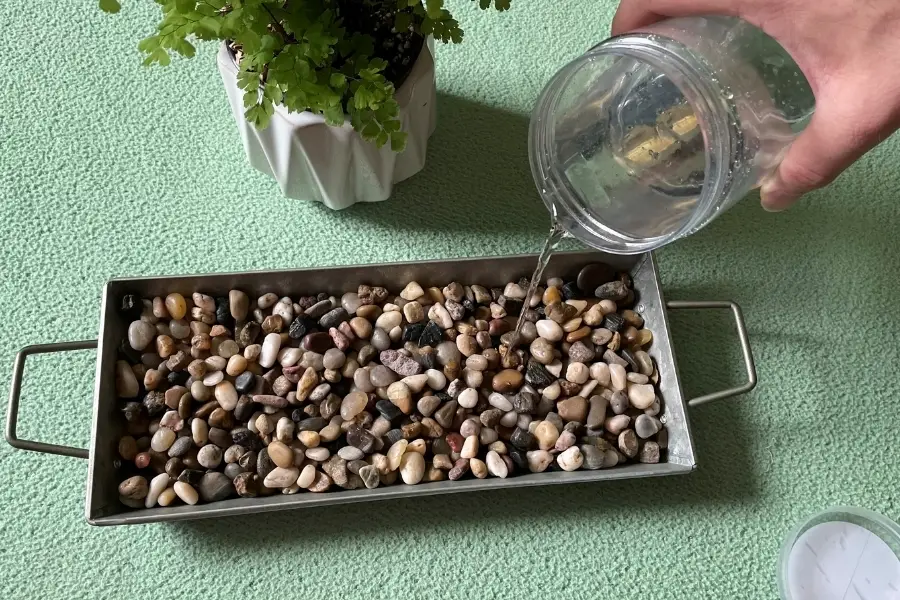
STEP ONE: Empty your pebbles into the tray and spread them out as evenly as possible. It doesn’t have to be perfect, and they will settle a bit once you pour the water in.
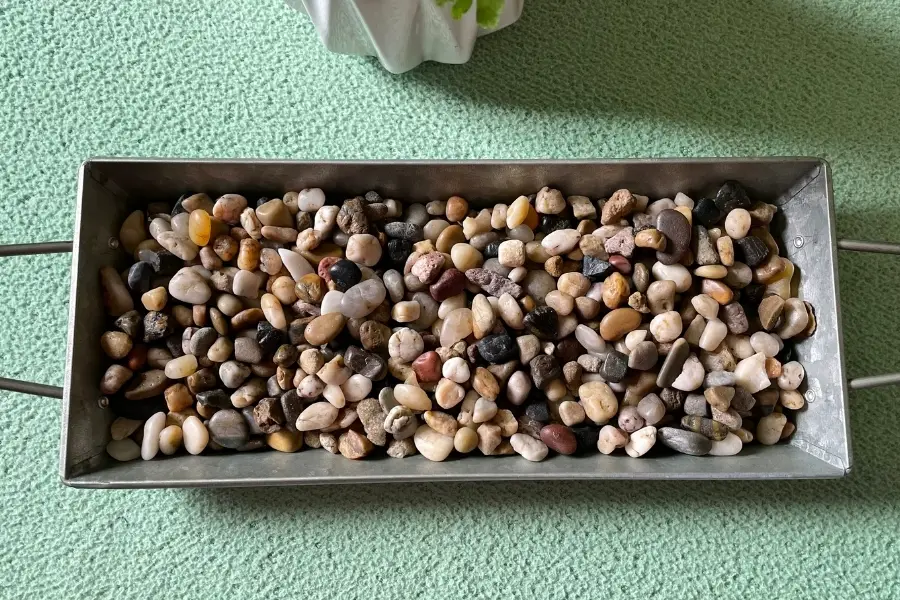
STEP TWO: Slowly pour in water until it comes just below the top of the rocks. You want to have a layer for the plant to sit on that’s above the water. You never want your planter sitting in the water. The point of the pebbles is to hold it up.
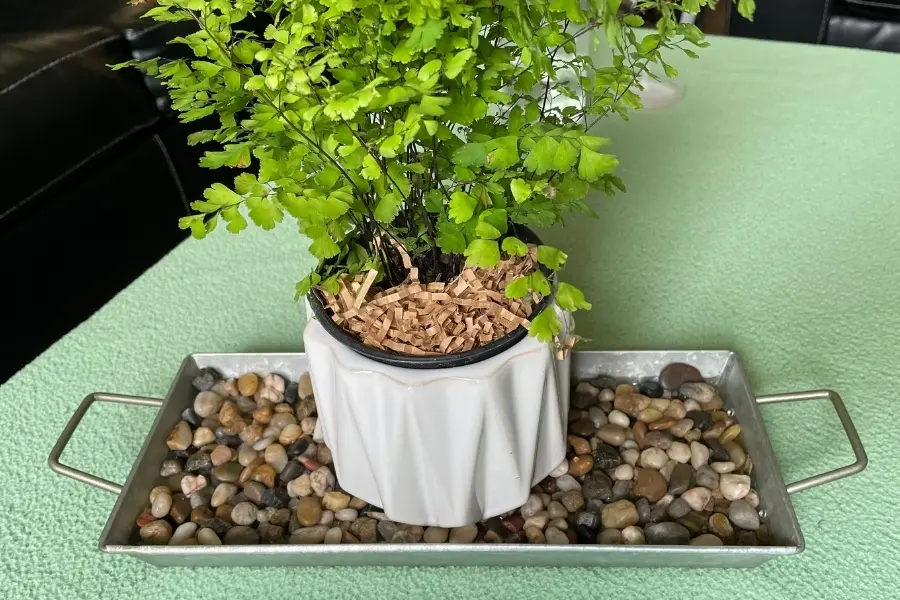
STEP THREE: Place your plant on top of the pebbles and you’re done! Move the tray to its new home and watch your plant thrive with all the humidity.
Houseplant Humidity Tray Tips
It doesn’t take much work to care your humidity tray, but here are a couple tips I wanted to share.
- Refill with water occasionally. I usually have to refill mine once a week or so, but it will depend on the conditions in your home. Just check it every few days and if you notice it’s low, add some more water. It won’t do its job if it dries up!
- Don’t neglect misting. If your plant has high humidity requirements – like my maidenhair fern shown above – you should still mist it once a day or so. I also keep mine near a humidifier because I live in a very dry area. If you live in a more humid area, you may not need the triple threat!
- Clean your tray once every three months. It’s a good idea to dump out all the rocks, give them a spray in the sink, and wash out the tray thoroughly with soap and water about once every three months. If you don’t, algae may start to grow and it can get pretty gross.
- Use filtered water if possible. I prefer to use filtered water in my humidity trays, especially for plants that are sensitive to fluoride like dracaena and spider plant. This is optional, but just something you might want to think about. Tap water works fine if you can’t use filtered.

